
Digital Comics Collage
Required Readings, Tutorials, Activities (also on class schedule):
- Read Chapters 1, 2 and 8 of Scott McCloud’s “Understanding Comics”
- Read PDF excerpt from Lynda Barry’s book “What It Is” (high res PDF or low res PDF)
- Read How Does Multimodality Work? (see PDF)
- Watch Copyright Basics
- Read What Is Creative Commons?
- Complete Intro Activity: Photo Comic with Clipping Masks by Thursday, 2/6
- Complete Photoshop Tutorials by Thursday, 2/20
Overview
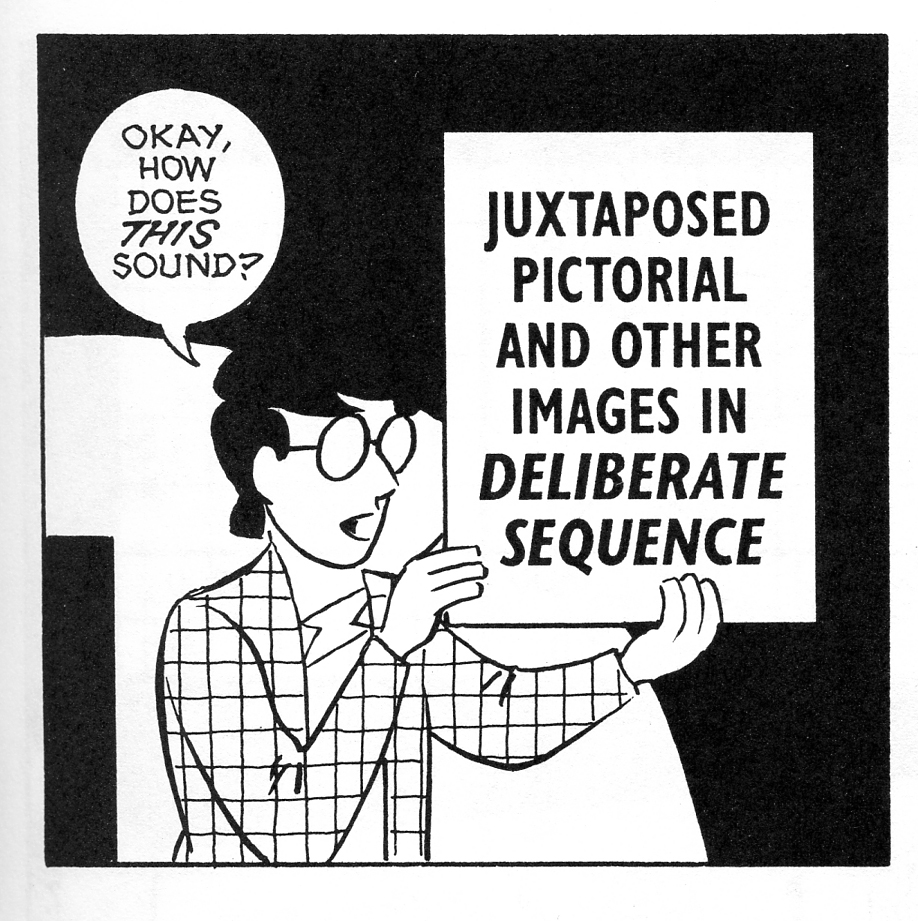
Try to embrace the possibilities offered by McCloud’s definition of comics (Scott McCloud, “Understanding Comics,” Harper Collins, 1994, pg. 9).
For this project, make a digital collage comic inspired by Lynda Barry’s book “What It Is”, as well as your understanding of Scott McCloud’s definition of comics. Your final comic does not need to look like Barry’s work, but it should use numerous found, collected, and/or created materials which you will digitize using flatbed scanners. In this sense, your work will reference physical space, even though you will execute most of the work in virtual space as you learn beginning, intermediate, or advanced skills in Adobe Photoshop.
Things to think about:
- How will your comic fit McCloud’s definition: “Juxtaposed pictorial and other images in deliberate sequence, intended to convey information and/or to produce an aesthetic response in the viewer” (McCloud pg 9)?
- Will you use imagery, writing, or both? Remember that people who make comics can be considered both artists and writers (McCloud pg 17).
- If you use writing and words in your comic, remember that writing is a visual as well as a linguistic mode. How does Barry draw attention to this idea? How does she draw attention to the gestural mode too?
- Allow yourself to be inspired by both physical and digital ways of working: What did you like about drawing a comic by hand at the beginning of the semester? What do you like about using Photoshop? If you are so inspired, some parts of your comic could be created by hand, scanned, and then composited in Photoshop.
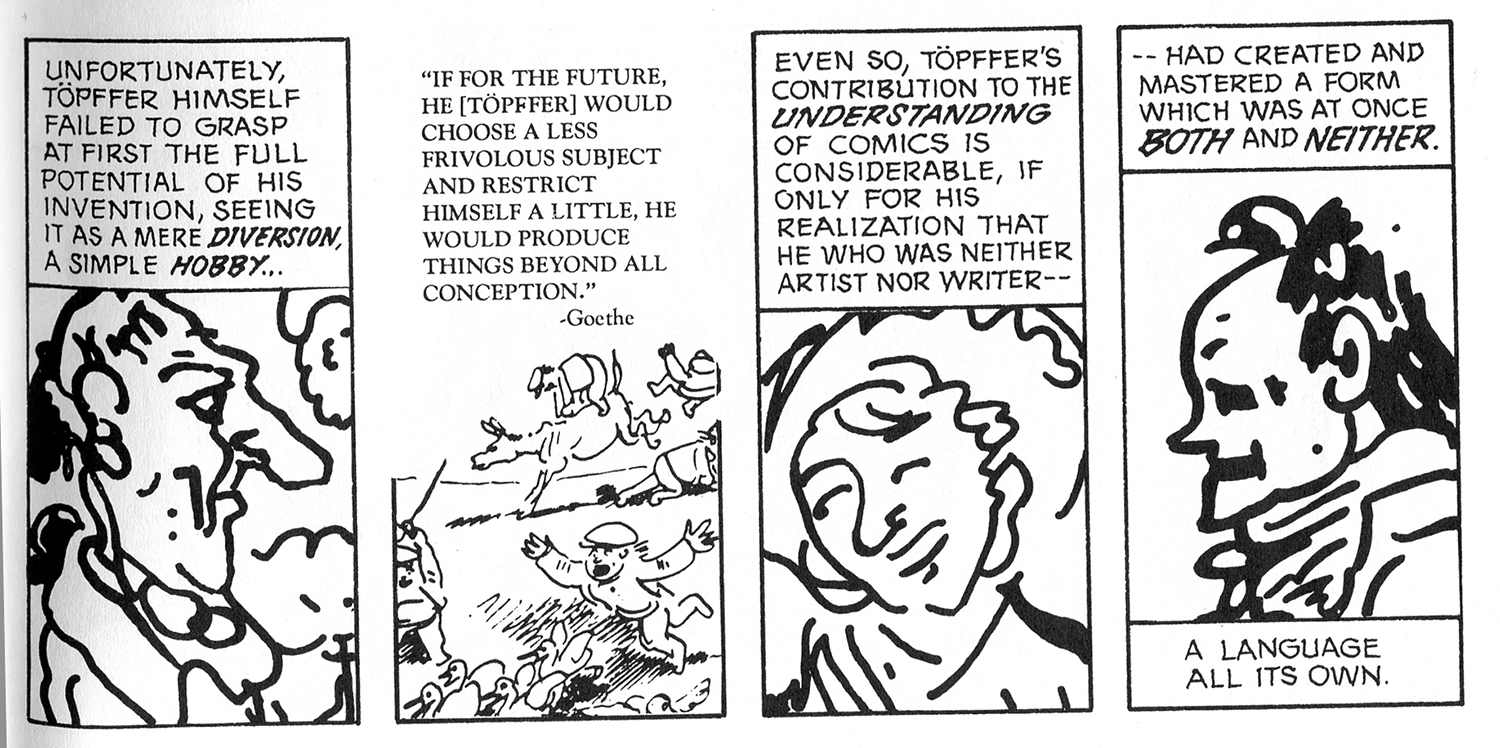
Comics can take advantage of the power of both word and image. Read ahead to Chapter 6 if you’re interested (McCloud, 17).
Adobe Photoshop and Bitmap Graphics
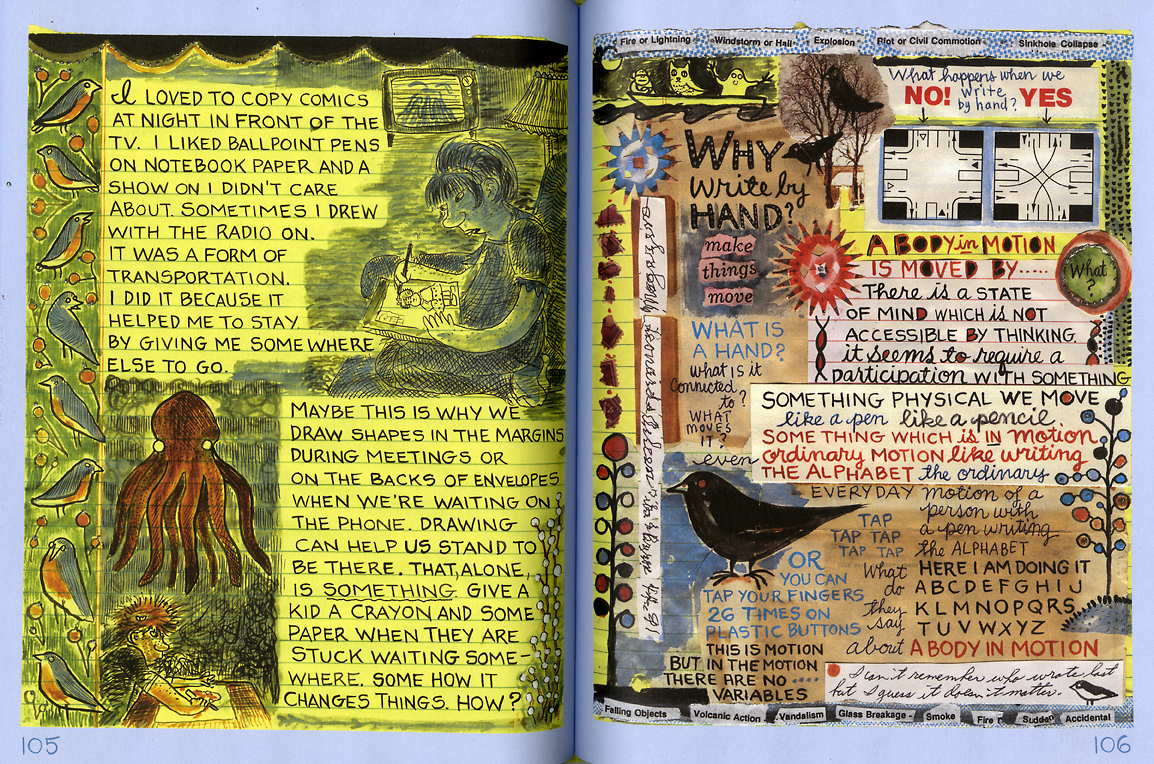
Some of Lynda Barry’s work in “What It Is” appears to be real physical collage made from found materials and drawings. Other pages appear to be drawn in pen, ink, and watercolor on lined legal paper. Both ways of working require subtle variation in tone and color. Work like this benefits from being reproduced and edited as bitmap graphics. (Barry, Lynda, “What It Is,” Drawn and Quarterly, 2008, p. 105-6).
Bitmap—also know as raster graphics—are computer images which are based on a grid of small dots known as pixels. Each of these pixels is assigned a particular color or shade of gray, and when viewed at a distance these dots combine to compose an image.
Bitmap images are usually in formats such as JPEG, GIF, BMP, TIFF, or PNG and have an associated resolution, or level of detail. Images on computer screens are generally 72 pixels per inch (ppi), while images for print are much higher, at least 300ppi, up to 3200 or more pixels per inch. A higher pixel resolution means there is more visual information stored in the image, which can be enlarged or viewed at larger physical sizes without distortion or blurriness.
Pixel resolution is different from spatial resolution, or the physical size of the image. Two images can be sized at 10 inches wide, which is the size they would print on a sheet of paper. But a 10-inch wide image at 300ppi would be 3000 pixels wide, while a 72ppi image would only be 720 pixels wide. There would be 9,000,000 total pixels in the former, and only 518,400 in the latter.
Bitmap images are generally created or manipulated using Adobe Photoshop, which are saved in the PSD format. Photoshop allows you to make changes to resolution, image quality (black and white versus color, brightness, saturation, etc.), transparency, and to composite different images together using layers. Photoshop also has type, shape, and painting tools. Finally, you can use Photoshop to save your final image in one of the other formats listed above, which are required for various types of output (for example, to post a photographic image on a website, you will likely save it as a JPEG).
For the Digital Comics Collage project, make sure you utilize the benefits of bitmap graphics. This means using source material that requires varied tones and more complex color. (Simple hard-edged graphics with solid fill colors are better done in Illustrator. We will use vector-based graphics for Project 2.)
Technical Requirements
- Your document size (the final output size for printing) should be between 8×10 (or 8.5×11) inches and 11×17 inches, since this corresponds to standard paper sizes. Exact proportions are up to you (So, if you wanted a square composition for example, you could plan for 11×11 inches to print on 11×17 paper, 8×8 inches to print on 8.5×11 paper). Resolution should be 300ppi.
- Use at least ten separate sources for imagery. 75% of sources should be found/created materials you have scanned. These images should have varied tones and colors.
- Keep copyright concerns in your mind as you gather material. Watch Copyright Basics: Can you argue for Fair Use for artistic purposes?
- Plan a comic that will require you to make some difficult and complex selections using Photoshop. Use layer masks on at least some of your layers. Save your selections as well.
- Make sure you save all your work in an unflattened Photoshop file (PSD). All work layers should be intact so your instructor can evaluate your work.
- Also save a copy of the PSD file as a JPG. Go to “File > Save As”. Choose the location where you want to save the file and make sure it is named as you wish. Choose “Format: JPG”. Then click “save”. In the next dialog box, make sure “quality” is set to “maximum”, or “12”.
- Also save a copy of the PSD file as a PDF. Go to “File > Save As”. Choose the location where you want to save the file and make sure it is named as you wish. Choose “Format: Photoshop PDF” and uncheck the “Layers” box. Then click “save”. In the next dialog box, make sure you choose “Adobe PDF Preset: [High Quality Print]” and then uncheck “Preserve Photoshop Editing Capabilities”.
Working Outside Class
You are expected to spend a significant amount of time outside class learning Photoshop and working on this project. You will also need to complete additional scanning in the CDSC (email them before you stop in: cdsc.info@wsu.edu) or in Avery 101 (see the consultant on duty for help). Plan to use the computer labs in the evenings and on weekends. See the top of the class schedule for labs and hours. If you need help, come see your instructor during office hours or make an appointment for a different time on Wednesday.
What You Will Turn In
Before class on Thursday, 2/27:
1) Digital Files. Your instructor will create a shared OneDrive folder that you will use to hand in your final digital files. Only these final files should be placed in that folder:
- PSD file: Your unflattened Photoshop file, named “yourlastname-yourfirstname-project-01.PSD”
- JPG file: A copy of your file saved as a high resolution JPG. Name the file “yourlastname-yourfirstname-project-01.JPG” (See instructions in Tech Requirements above)
- PDF file: A copy of your file saved as a print quality PDF. Name the file “yourlastname-yourfirstname-project-01.PDF” (See instructions in Tech Requirements above)
- If you used images that you did not digitize, capture, or create yourself, make sure you include a citation list similar to the one you turned in for the Photo Comic assignment, linking to the location of the image(s) and listing the relevant creative commons or public domain information. This should be a DOCX file.
2) High Quality Print. Print a good copy of your work at its full document size on either 8.5×11 or 11×17 paper at CougPrints (bring them the high quality PDF), or in Avery 103 if the color printer is working well (here you can print directly from Photoshop).
During class on Thursday, 2/27:
3) Post Blog #3: Final Digital Comics Collage. You will need a lower resolution JPG to post on the blog. Make sure to save a copy that is lower resolution. Do not save over the high resolution JPG or get rid of your Photoshop file. Also, note that a web resolution JPG should still be saved at high quality. JPG quality and resolution are different things.
